
Starting a WordPress membership site doesn’t have to be difficult. Thanks to WordPress and the hard work plugin developers have put into their products. In this guide you will learn how to setup a membership site using Paid Memberships Pro.
If you are uncertain about starting a membership site, be sure to take a look at our latest article on why you should consider starting a membership site.
Prerequisites
- Know how to install a WordPress plugin.
- Comfortable in navigating and working with plugin settings.
Why Paid Memberships Pro
We’re a huge fan of Paid Memberships Pro for various reasons. One of the main factors is that you get a lot of functionality in the free version of Paid Memberships Pro such as all payment gateways and recurring billing! You don’t need to spend a single cent to get a membership site up and running with Paid Memberships Pro.
Paid Memberships Pro does have a Plus version which offers a lot of features (in extensions) a membership site may need and we highly recommend in signing up for access to these plugins. This is not a requirement, but a nice to have.
Installing Paid Memberships Pro
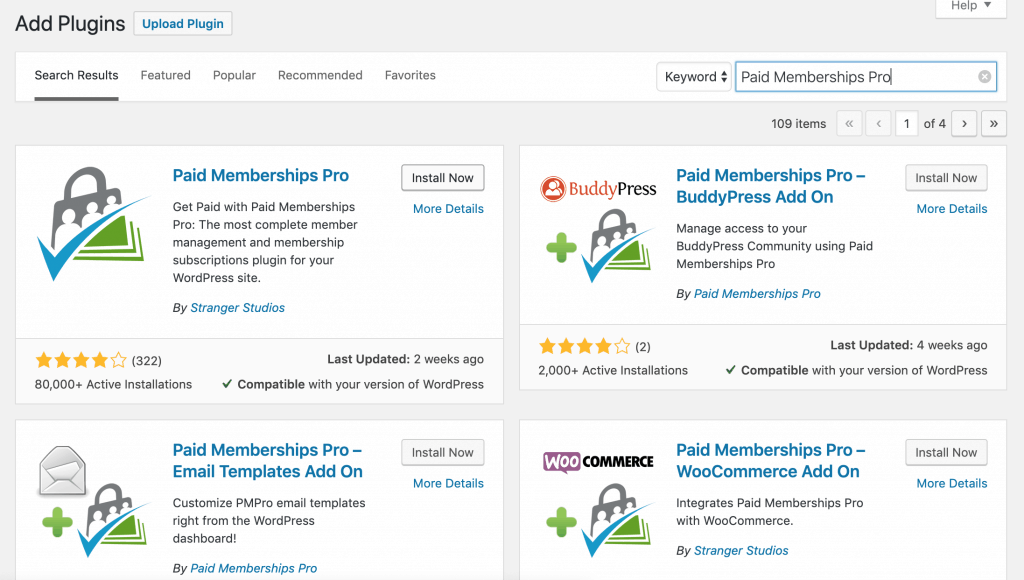
The easiest way to install Paid Memberships Pro, is to login to your WordPress dashboard and navigate to “Plugins” > “Add New” and search for “Paid Memberships Pro” and install and activate this plugin.
If you aren’t too familiar with installing a WordPress plugin, you may view our more detailed guide here.
Setting Up Paid Memberships Pro
Once Paid Memberships Pro is installed, you will need to setup a couple of things. Don’t worry it’s a fairly quick process as the plugin helps you through a lot of the steps needed to create your membership site.
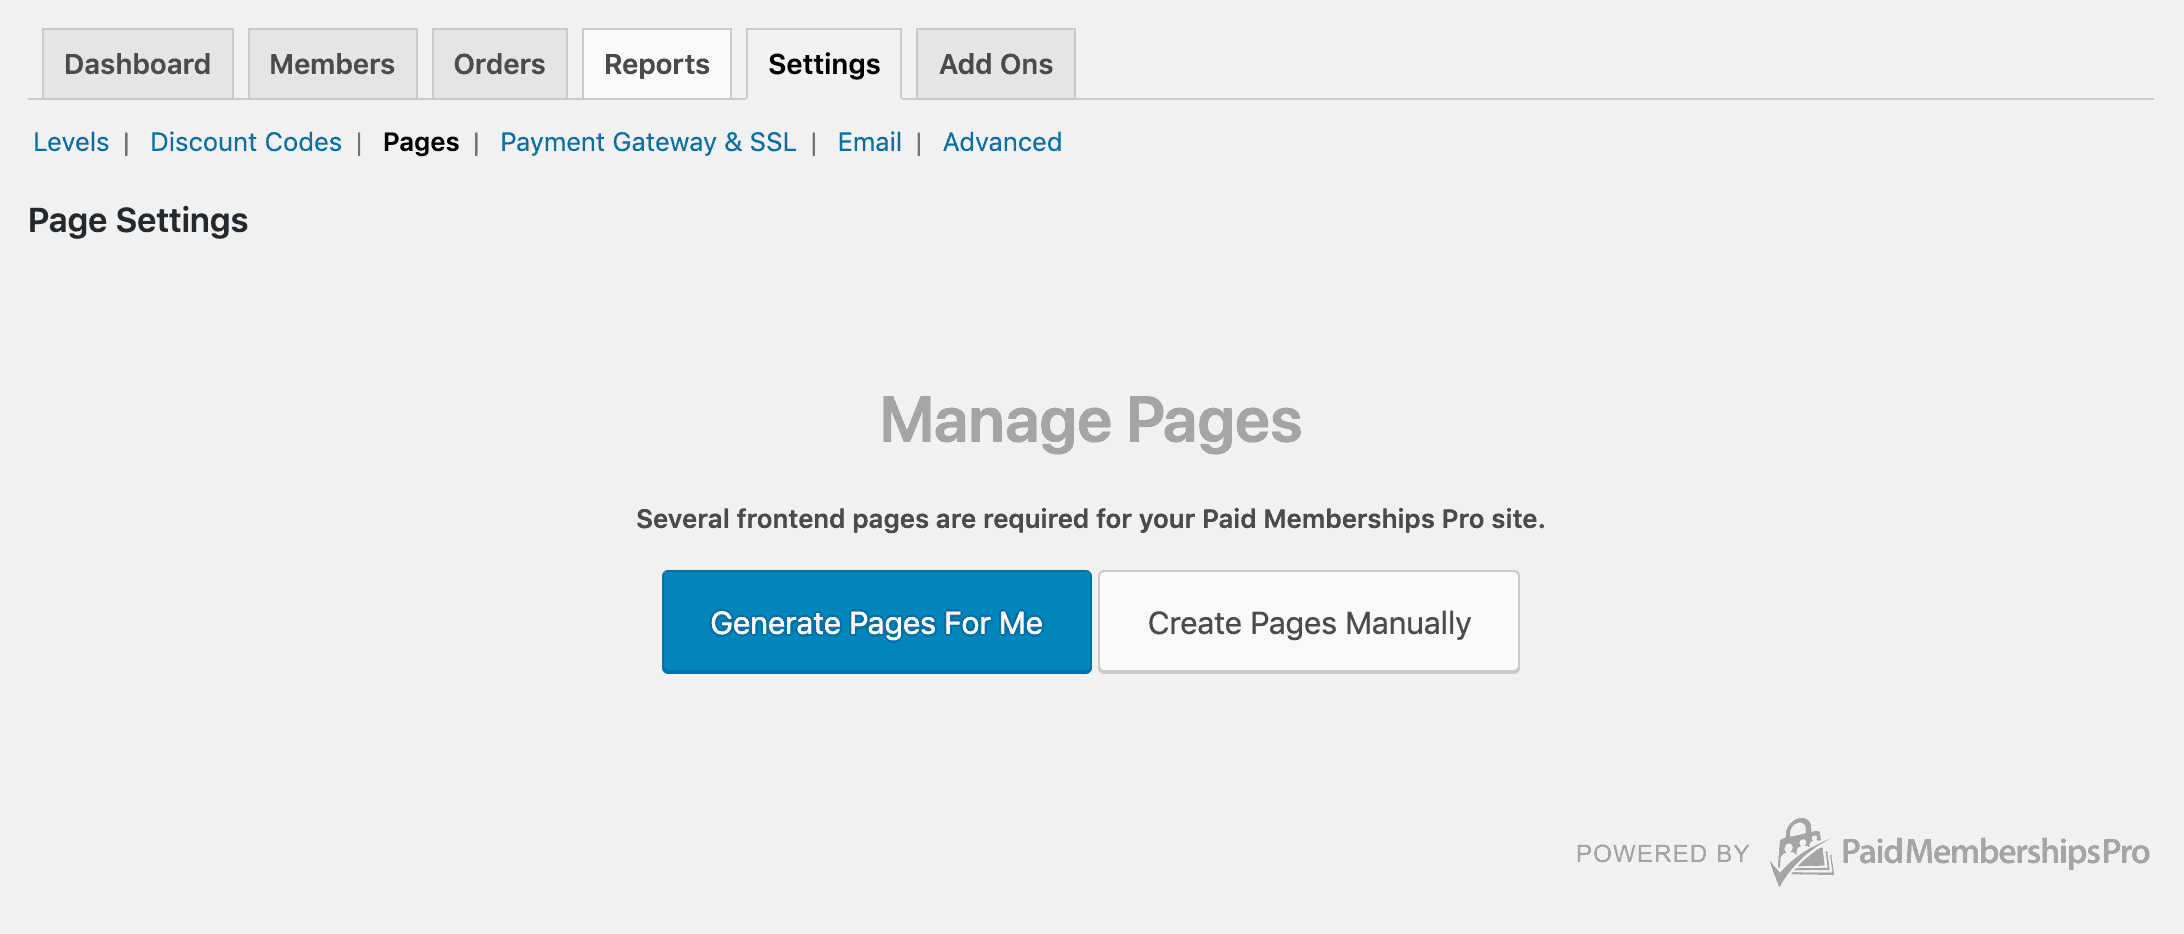
Step 1: Generate Membership Pages
Paid Memberships Pro makes it real easy to generate the required pages needed to start your membership site. All you need to do is select the “Generate Pages For Me” button and you’re done!
You are able to adjust the page slugs to match that of your liking.
Step 2: Create A Membership
The core version of Paid Memberships Pro (found on WordPress.org) has a lot of settings to offer, especially for billing your members. It’s really flexible.
You can offer lifetime memberships, monthly recurring memberships (our favorite) or even a once-off price for a period of time.
To create your membership level, you may take the following steps:
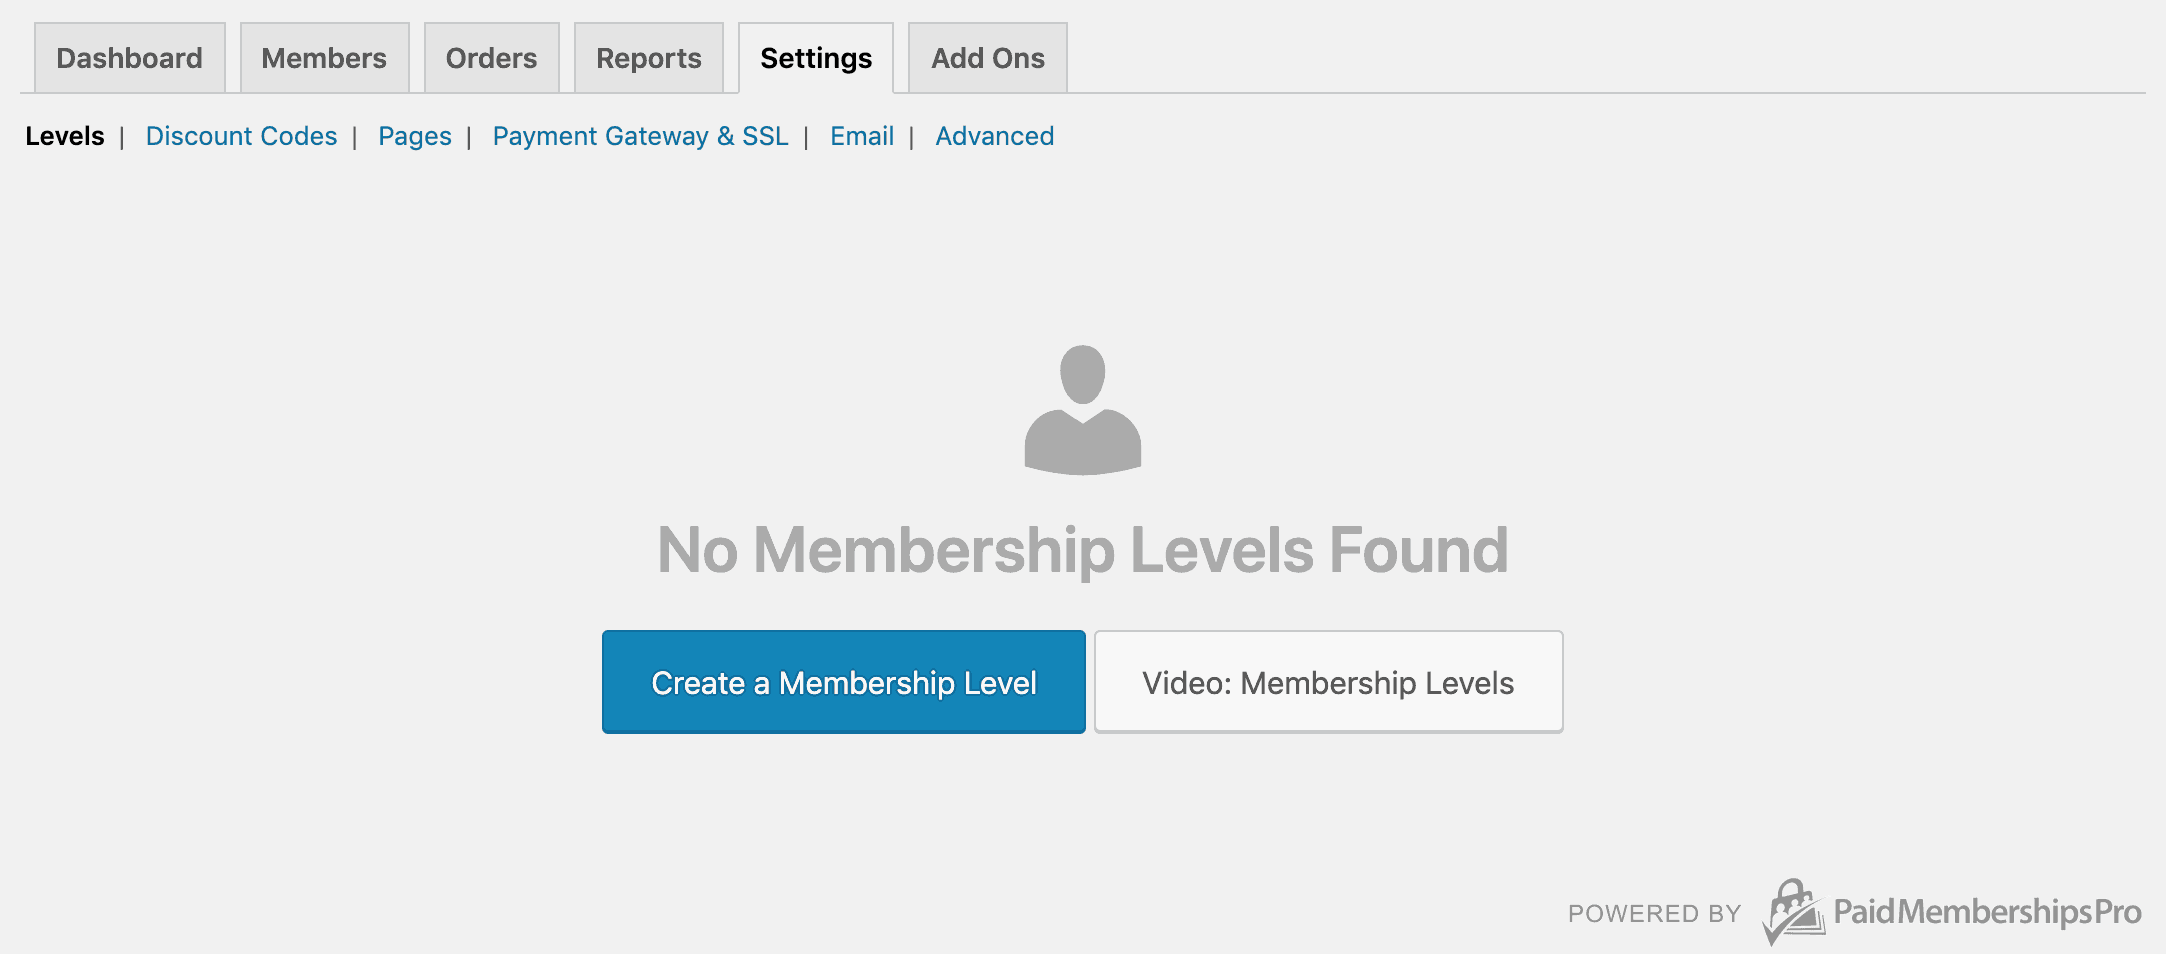
- Navigate to Memberships, Settings and select Levels.
- Select Create A Membership Level, or Add New if you already have existing membership levels.
- You may follow the steps and fill out all the required fields needed for your membership levels.
Membership Level Billing Settings
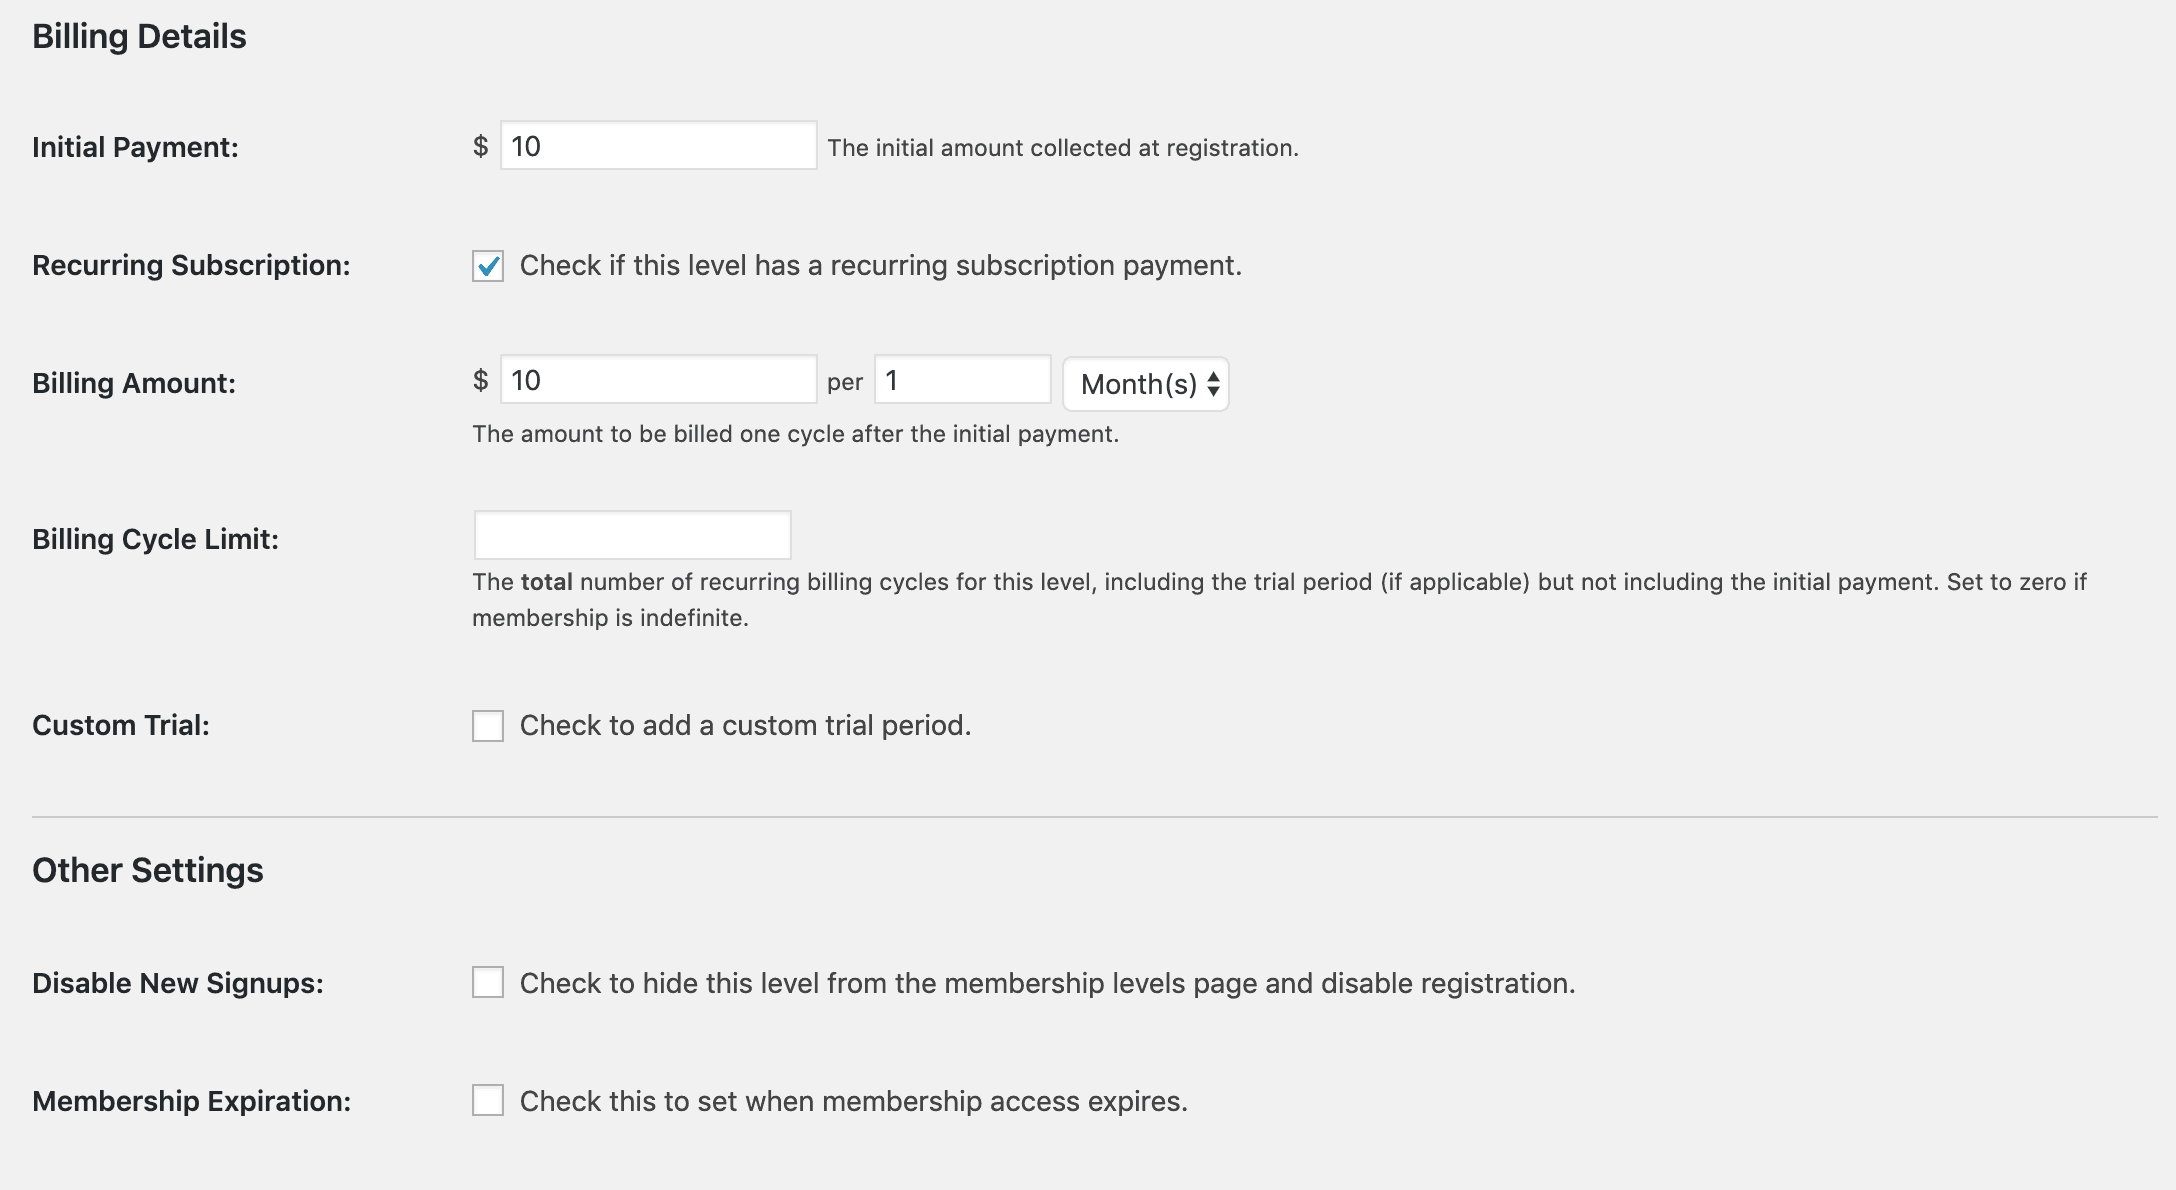
The membership billing settings for each level can vary, and this is where Paid Memberships Pro shines compared to other solutions. You are able to create free memberships, once-off payments or even recurring memberships. Let’s focus on a membership that will charge members $10 per month.
- You can edit an existing level or adjust these settings when creating a new level. Be sure to be in the edit membership level/adding a new membership level settings screen.
- Navigate to the Billing Details section of your membership level settings.
- Initial Payment – This amount will always be charged at the time of checkout.
- Recurring Subscription – Check this option if you want to create a recurring membership level, you may leave this unchecked if you just want a once-off price. (Once checked, more options should show.)
- Billing Amount – Once the Recurring Subscription is enabled, more fields will show. The billing amount fields will be used for your recurring amount. In this example, it’s set to $10 every 1 month. You set this to daily, weekly, monthly or yearly.
- Billing Cycle – This option will allow you to bill user X months before stop billing. Their membership will continue to run after this limit has been reached but billing will be stopped.
- Custom Trial – This can be used to allow user’s to have their first X months free or at a lower price.
Restricting Membership Access By Category
At the bottom of each membership level settings, you may choose what categories will require that membership level in order to access it’s content. You can create a category called ‘Members Only’ and assign this to your membership levels. Then when creating posts you may add your posts to this category in order to require membership for content.
Step 3: Setup Your Payment Gateway
If you plan to only have free membership levels, you may keep your gateway to ‘Testing Only’. In our case, we’re going to be selling memberships and we will be using Stripe to handle our payments.
Get Your Stripe Merchant Details
- If you don’t have a merchant account at Stripe, signup at Stripe.com and ensure you fill out all the required information needed.
- Follow this guide to setup your Stripe account for Paid Memberships Pro.
Link Stripe To Paid Memberships Pro
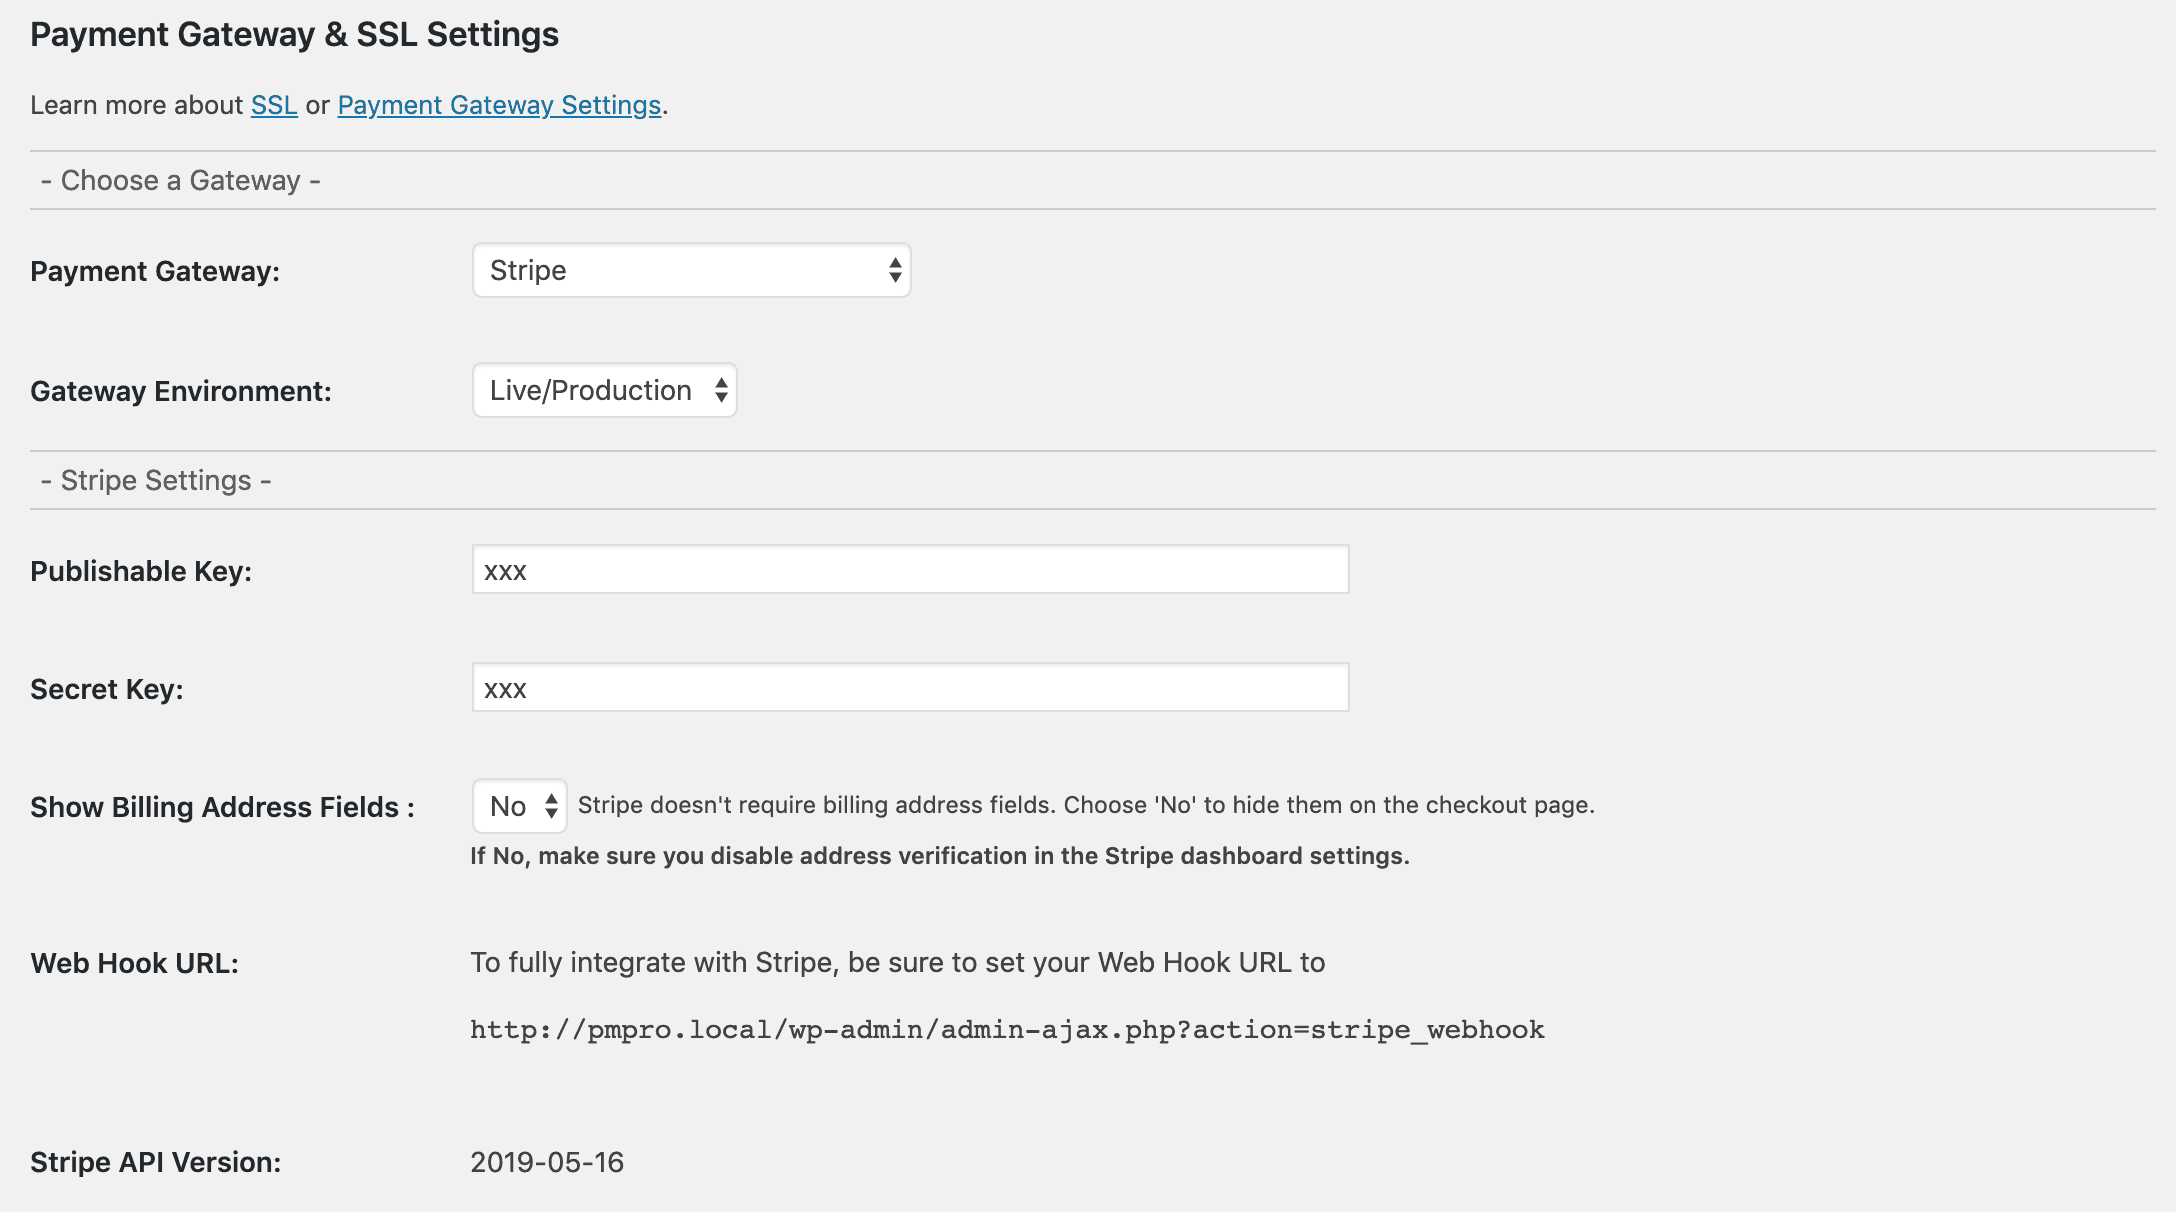
- Navigate to Memberships, Settings and choose the Payment Gateway & SSL Settings tab.
- Once on these setting pages, you are able to set Stripe as your Payment Gateway.
- Be sure to set your Gateway Environment to Live/Production if you want to accept real payments. If you want to run tests, you can set it to Sandbox/Testing (Please note that these merchant details may be different from your live merchant details).
- Enter your Publishable Key and your Secret Key in the relevant fields.
- Scroll down through the page and finish setting up your requirements. Such as currency and tax (if applicable).
Step 5: Build Your WordPress Membership Business
Now that you’ve worked through our steps in setting up the fundamentals of Paid Memberships Pro and getting your WordPress membership site up and running, you’re ready to get your business started.
On a side note, not every site needs a membership model, you can read up more about this here.
Feel free to leave a comment below if you have any further questions or feedback about membership sites for WordPress.
Paid Memberships Pro has a huge range of tutorials and blog posts (some require a plus membership on their site to access) to help kick start your membership journey.
Photo by niko photos on Unsplash
