
Learn how to send an email to an admin when a user updates their email address in their WordPress profile. This can be adjusted to work for any specific field for the user’s account.
Automating WordPress Notifications
We always geek out about automating menial tasks, or just to save you time and this is why we built and actively maintain our WP Zapier Integration. This allows you to automate or trigger data being sent to Zapier or other services on specific WordPress triggers such as when a user’s profile is updated.
Here are the steps you would take to set up an Outbound Trigger to email an admin whenever a user’s profile is updated in WordPress:
- In a tab, navigate to WP Zapier in your WordPress dashboard and select Outbound Event.
- Create a new Outbound Event and name it to be something recognizable and unique (you might create more Outbound Events later on).
- Select the Profile Update trigger.
- In a new tab while keeping your tab from step 1 open, navigate to Zapier.com or a similar service you’re using to “catch” this webhook data.
- Create a new Zap, and choose Webhooks by Zapier as your trigger.
- Choose Catch Hook as your event.
- You may leave the Pick off child element as blank and continue.
- Once you’ve reached the Test Trigger step, copy the webhook URL and navigate to your first tab and paste in the webhook URL into your Outbound Event, activate your Outbound Event and save.
- To save us going back and forth, update a user’s profile now (or even your own). This is to fire the trigger.
- Navigate back to Zapier and click “Test Trigger“. There should be sample data that pulls through and click continue.
- Now we’re going to configure the action (where the data should be sent), for the sake of this article it will be sending an email but you can push it to MailChimp, a CRM or a custom webhook location.
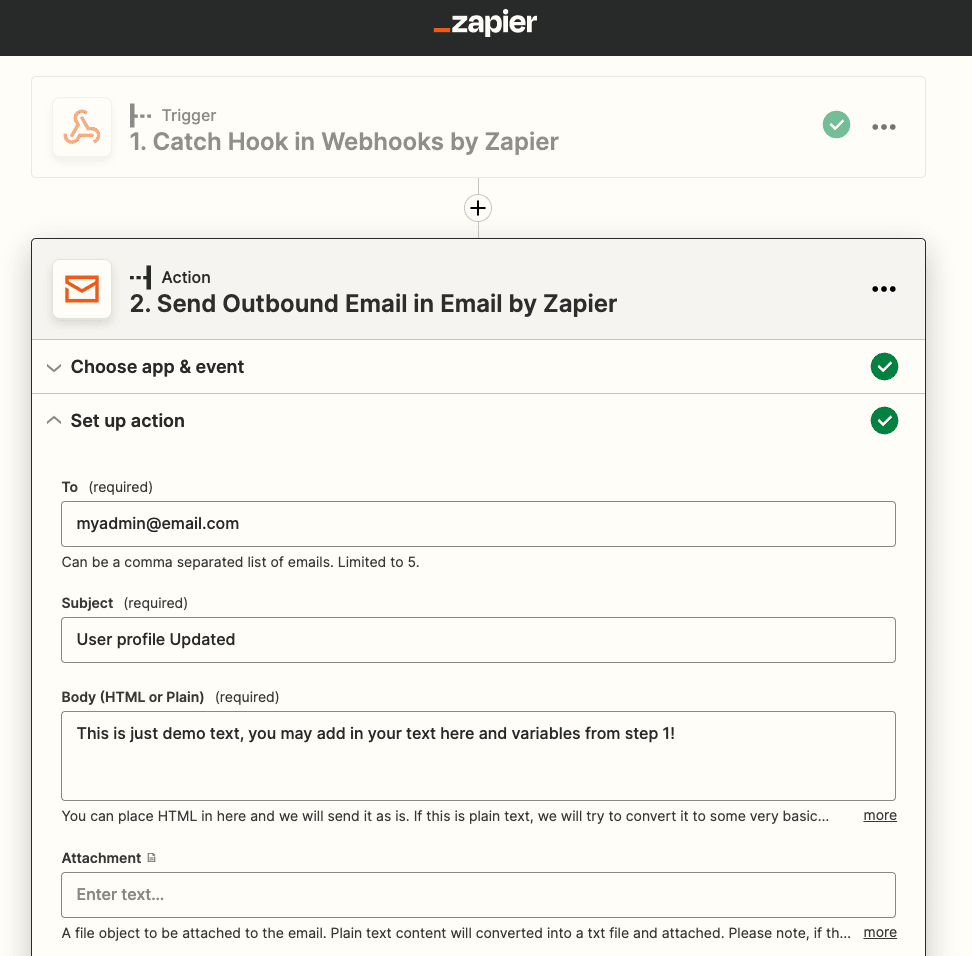
- For your action you will choose Emails by Zapier to send an email.
- Choose Send Outbound Email as the event and continue.
- Complete the necessary fields and continue. You may feed in specific field data to the body of the email that you’re interested in and write up a mixture of static text and dynamic variables from the trigger we configured in previous steps.
- Save and name your Zap!
Now you’re done configuring Zapier, this will send an email to an admin account or another email address whenever a user’s profile updates. If you want to only send the email in certain conditions you may use WP Zapier Integration built in conditional sending logic or filter this data between the trigger and action step in Zapier (which requires a premium account).
Code Solution
If you have applied the previous method, you do not need to add this method as well. Only one of these methods would be needed to achieve similar results.
In the code solution this will only send an email in a specific case, unlike the Zapier method which will always send emails whenever a profile is updated. This solution will only send when a user’s email address changes.
The code below specifically looks out for if the user ever changes their email address and will email the admin (or any email address) with the updated details. You may expand on this code to compare and loop through each data item and send through it via email if it changes.
This code is to help as a starting point and should be expanded on further for your own site needs.
Hook Reference: https://developer.wordpress.org/reference/hooks/profile_update/
Feel free to leave a comment below if you have any questions about the code or an idea around improving this.
Photo by Onlineprinters on Unsplash
