
We’re pleased to announce that WP Zapier supports Automate.io, a great Zapier alternative. We are planning on a major improvement to WP Zapier to make it easier to use and support more services like Automate.io
Setting Up WP Zapier Plugin To Work With Automate.io
Automate.io requires a free account or higher in order to make use of their services. Great news, their free tier includes webhooks (which WP Zapier uses). In this example, we will be posting data from WordPress to Automate.io when a user logs into WordPress. We will post our data from WP Zapier/WordPress to Automate.io to Google Sheets. This is known as a “bot”, the same as Zapier refers to their automation flows as “Zaps”.
Creating a New Bot Inside Automate.io
Navigate to the Create a Bot page by selecting the button at the top of the screen. Once redirected to the setup wizard, this is where we will setup our trigger and action. Since we’re sending data to Automate.io it will select Webhook as the trigger.
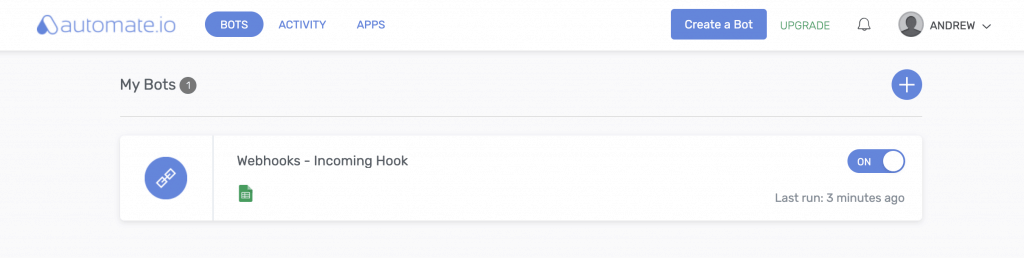
Once you have selected the Create a Bot screen, this is where you will setup your trigger and action. On the left hand side of the screen this is where you will select Webhooks and choose Incoming Webhook. Select Setup Webhook, you should be redirected to a screen where you will get the webhook URL to use inside WP Zapier.
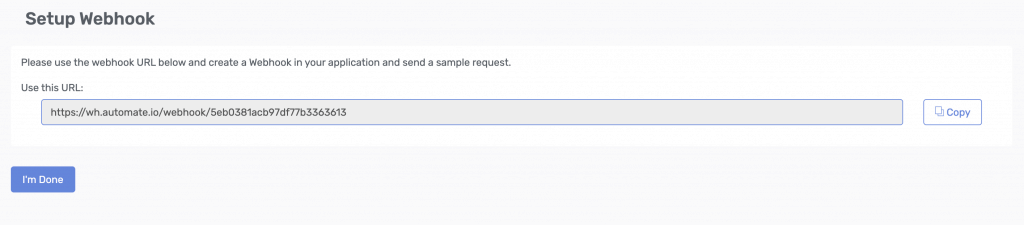
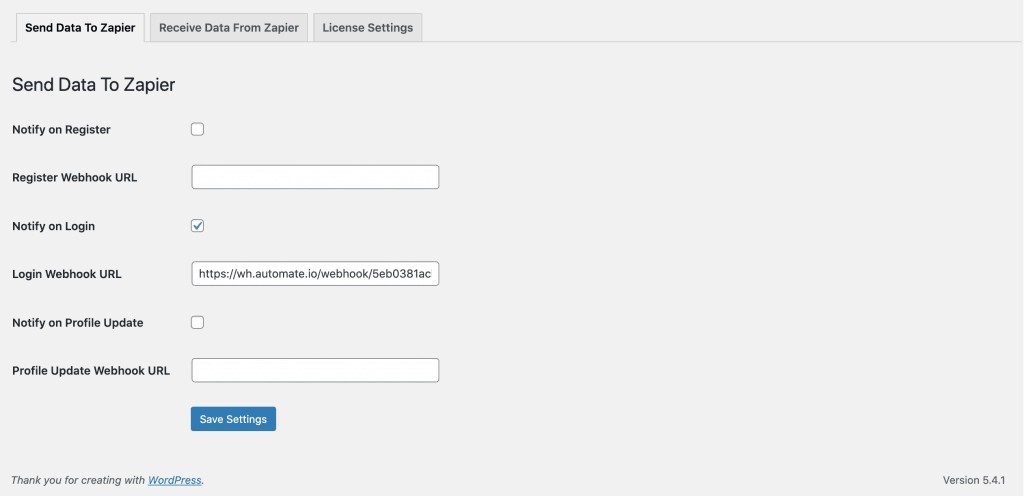
Copy the webhook URL and paste it into the relevant trigger you want to send data when run. In our example, we chose Notify on Login.
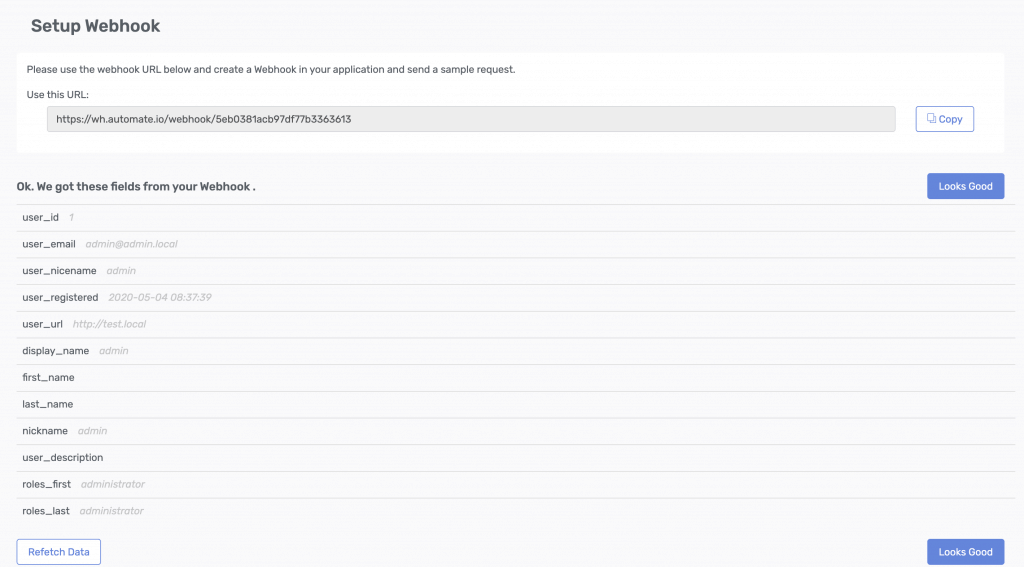
Go back to Automate.io and select the I’m done button you will receive data. Be sure to test your trigger from WordPress such as creating a user, login or update a user account depending on the trigger you’ve chosen. You should see example data inside Automate.io of what data was received from the test/webhook.
Now you may setup your action. In our case, we will post data to Google Sheets. You could choose from another 100+ apps available on Automate.io. Search for Google Sheets, choose the relevant action such as Add Row and be sure to connect your Google account and choose the relevant Google Sheet.
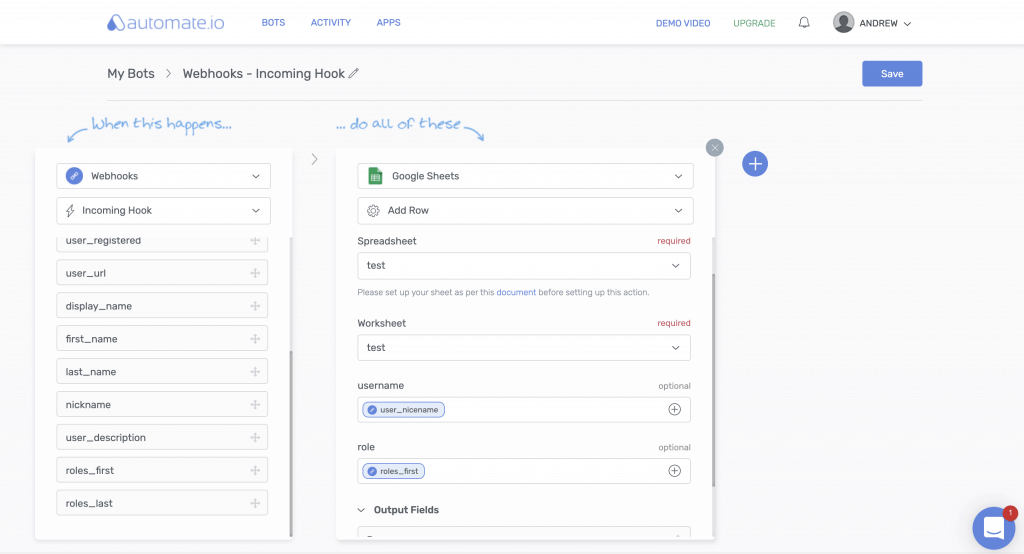
Once selecting your relevant worksheet it will create fields that you are able to input data from the webhook to map the data to the relevant columns. In my example sheet I only had two columns for username and role. This bot will automatically post this data and add a new row to the Google Sheet that’s connected to Automate.io.
Once you have mapped the data, save your bot and follow the on-screen prompts to turn the bot on to listen for your triggers on your site.
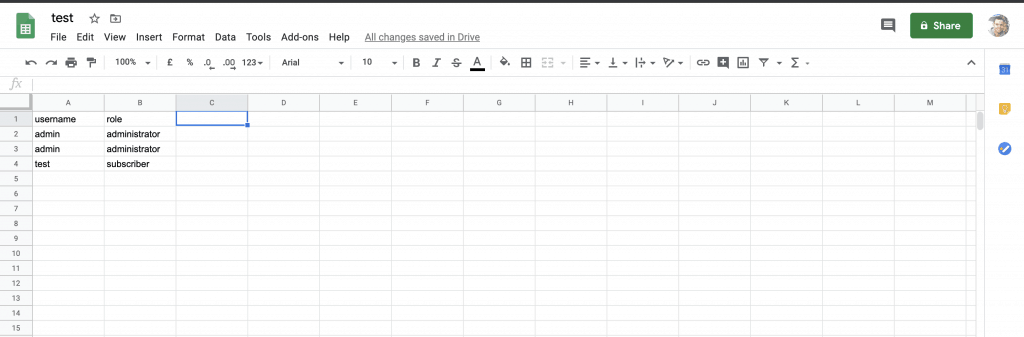
Every time a user logs into our WordPress test site, a log will be created in Google Sheets as per the image below.
Summary
After working through this article, you should be able to create a new automation bot for WP Zapier and Automate.io. This will send data from your WordPress site to Automate.io and then to Google Sheets. You can follow these general steps to post data to MailChimp, Hubspot or any other application Automate.io supports. Feel free to comment below if you have any questions regarding this.
