In this article, we’ll cover how to send Easy Digital Downloads customer emails to Mailchimp whenever a new customer is created. This may include new purchases or manually creating a customer.
Prerequisites
You will need the following in order to follow this step-by-step guide:
- Mailchimp account
- Zapier account (Premium may be required)
- Latest version of WP Zapier Integration plugin
- Latest version of Easy Digital Downloads
Setting up Easy Digital Downloads to send emails to Mailchimp
As mentioned above, this guide will help you automatically send your customer email addresses to Mailchimp whenever a new customer is created and can be triggered by a new purchase of one of your digital products or if an admin creates a customer.
Follow these steps to setup this automation flow with WP Zapier Integration and Zapier:
- Navigate to WP Zapier, select Outbound Event and Add New within the WordPress dashboard.
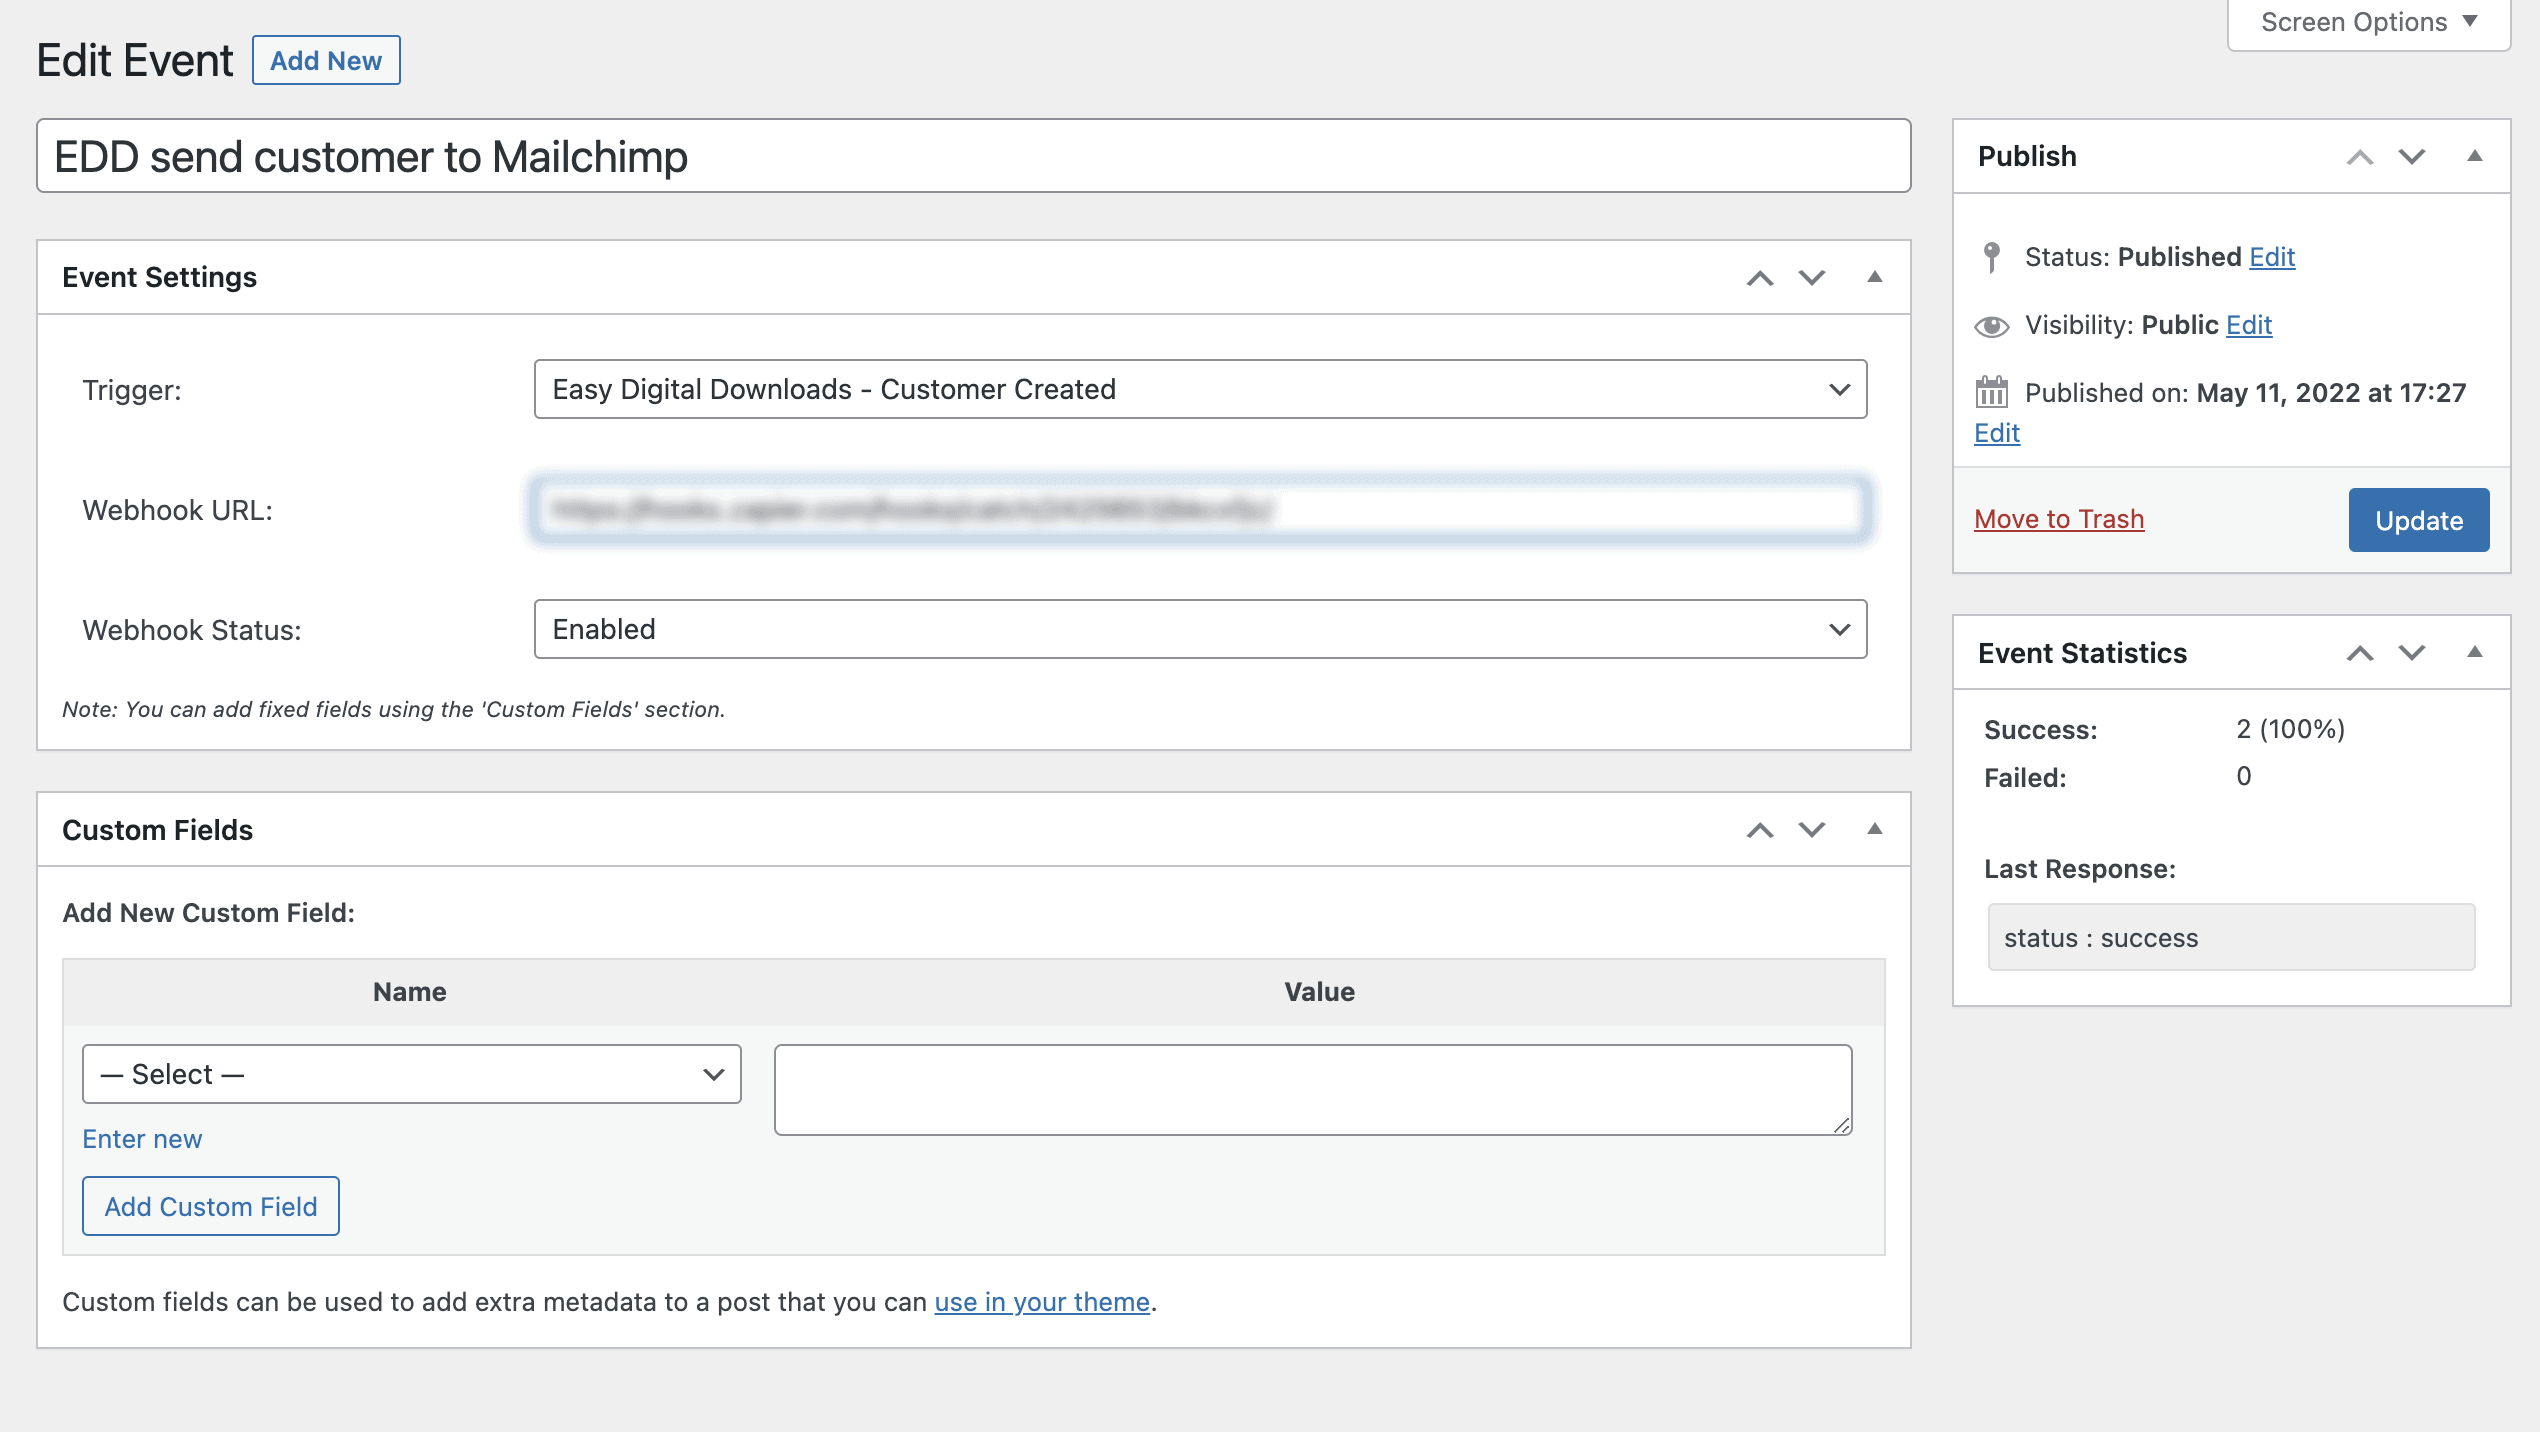
- You may name your Outbound event to be something descriptive and rememberable.
- From this settings page, choose the trigger Easy Digital Downloads – Customer Created (Do not save this yet, but keep this tab open.).
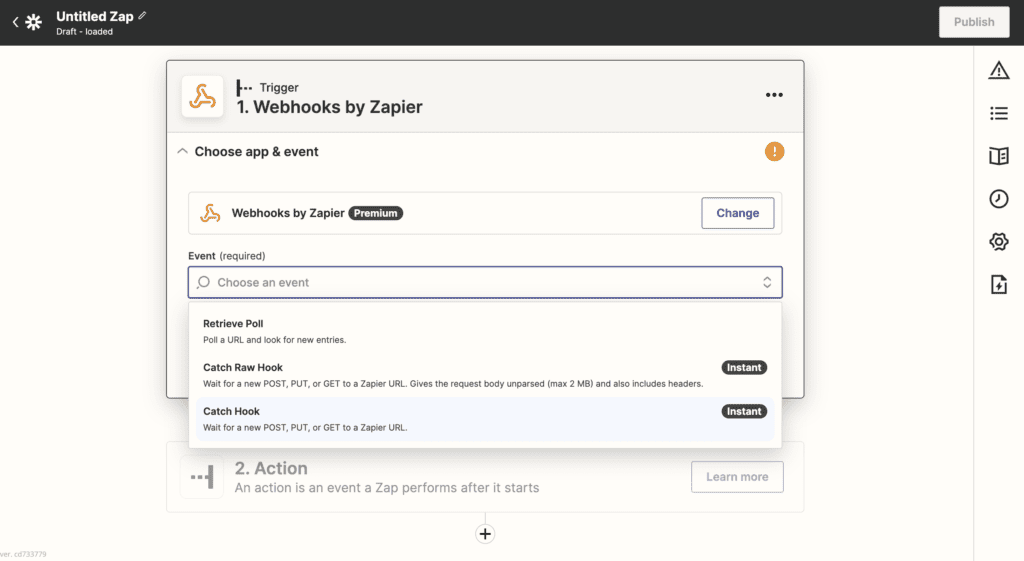
- In a new tab, you will navigate to zapier.com and login to your account. Select Create Zap.
- Within your Zapier trigger selection, choose Webhooks by Zapier and within the Event option, be sure to choose Catch Hook.
- On the test trigger settings screen you will copy the webhook URL and navigate back to your WordPress site, from step 3.
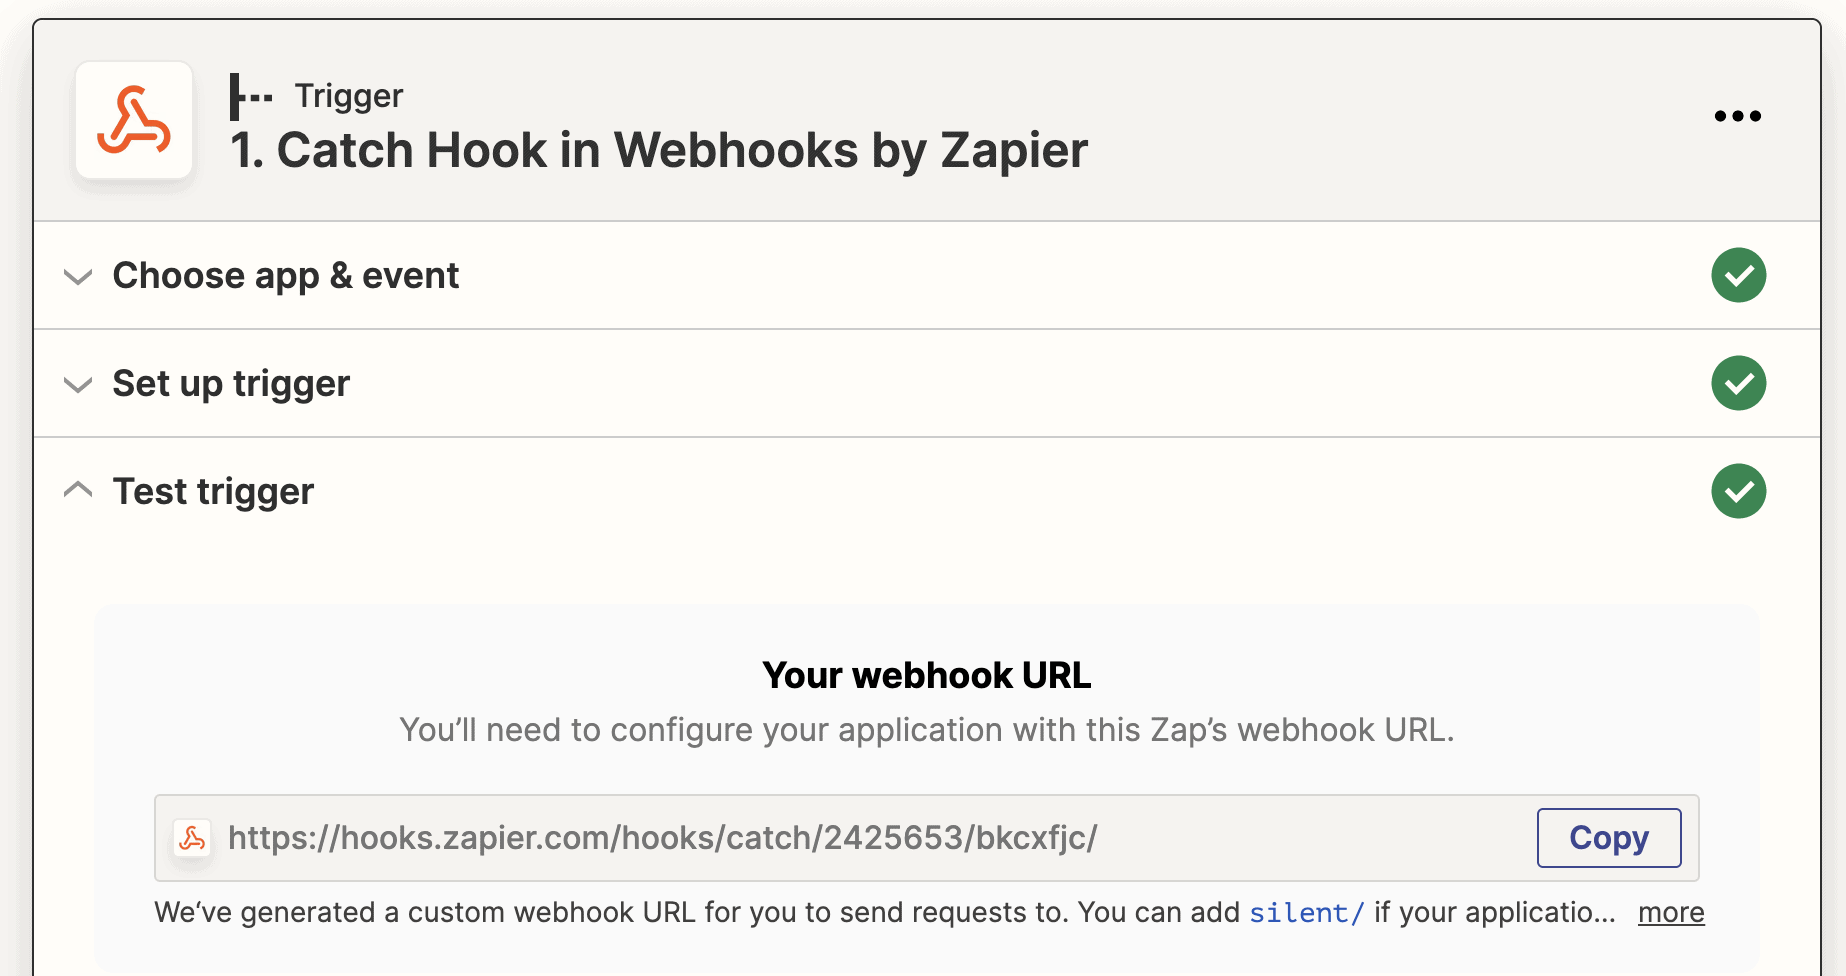
- Paste in your webhook URL and enable the Outbound Event and save it. (It will now ‘listen’ for data on this particular WordPress trigger – whenever a customer is created in Easy Digital Downloads).
- To ensure that data is pulling through correctly, you need to run this Outbound Event by simulating this event – for this article you may create a new EDD customer or checkout as a guest on your online store.
- Navigate back to the Zapier webhook trigger as per the previous image. You may select Test Trigger to see if data has been received by Zapier. The below screenshot is a sample of data received.
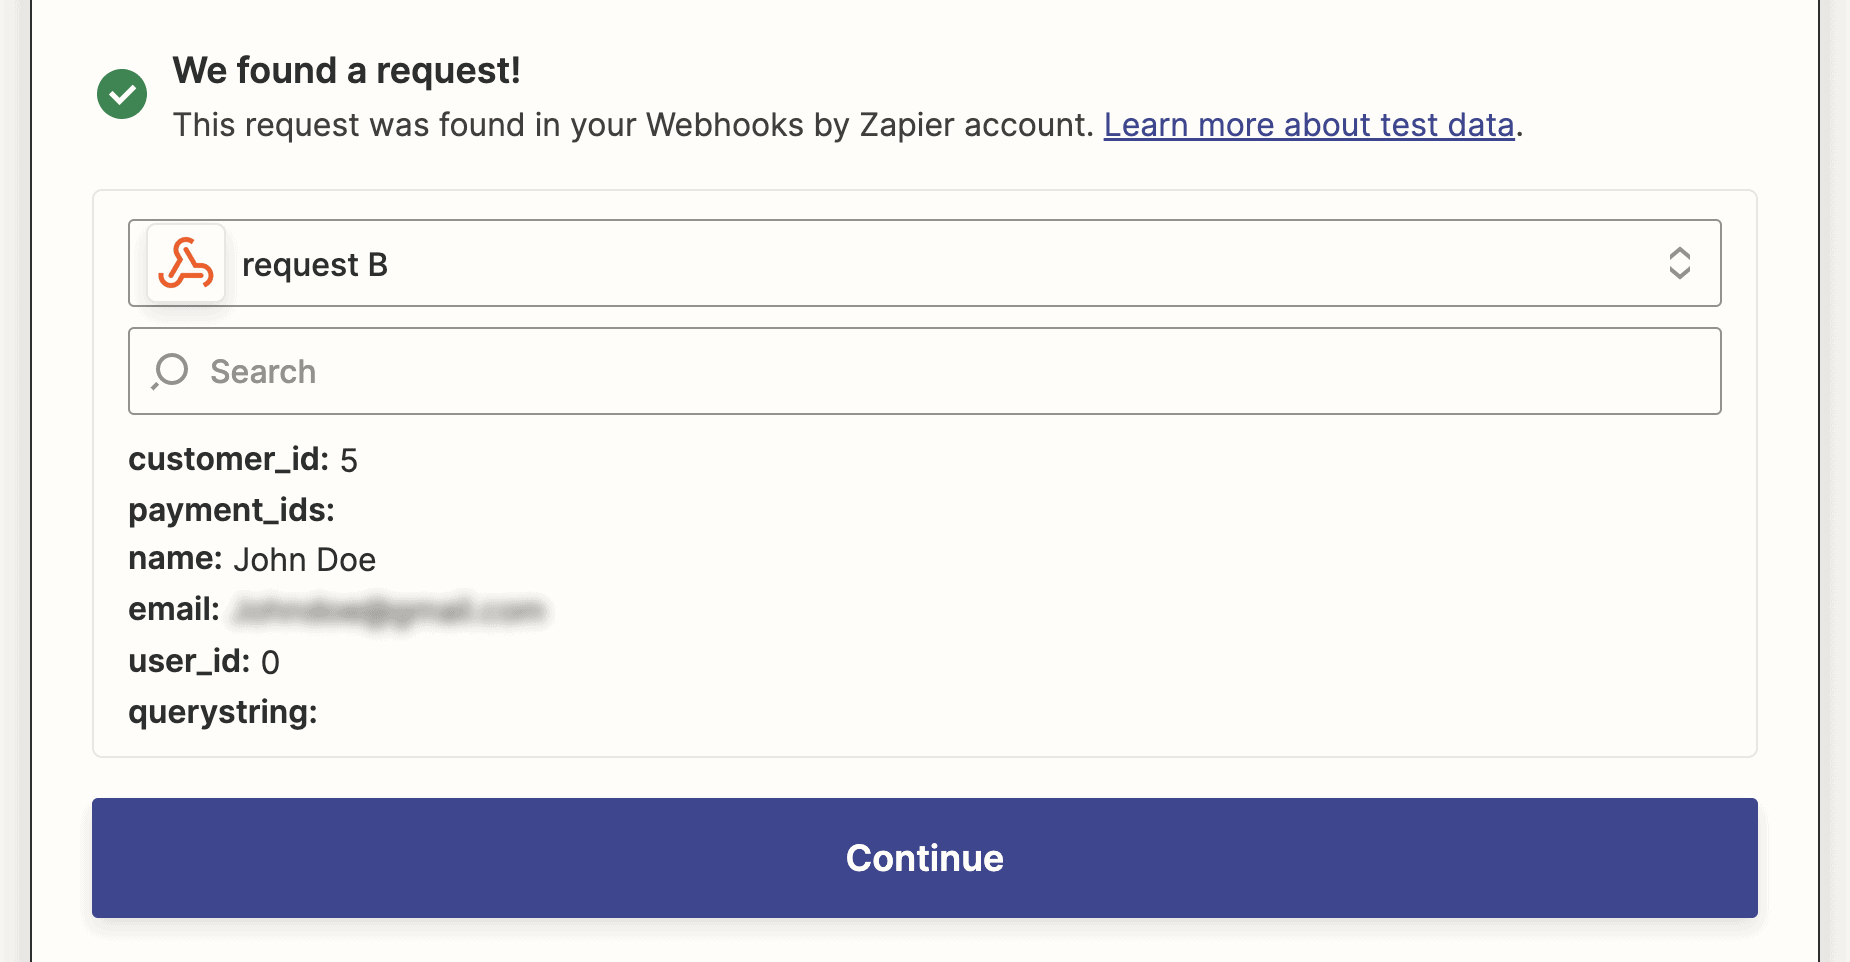
- Continue to follow the prompts to finish the Trigger part of Zapier. The trigger can be seen as fetching data from your WordPress site. We will now move over to connecting this data to Mailchimp.
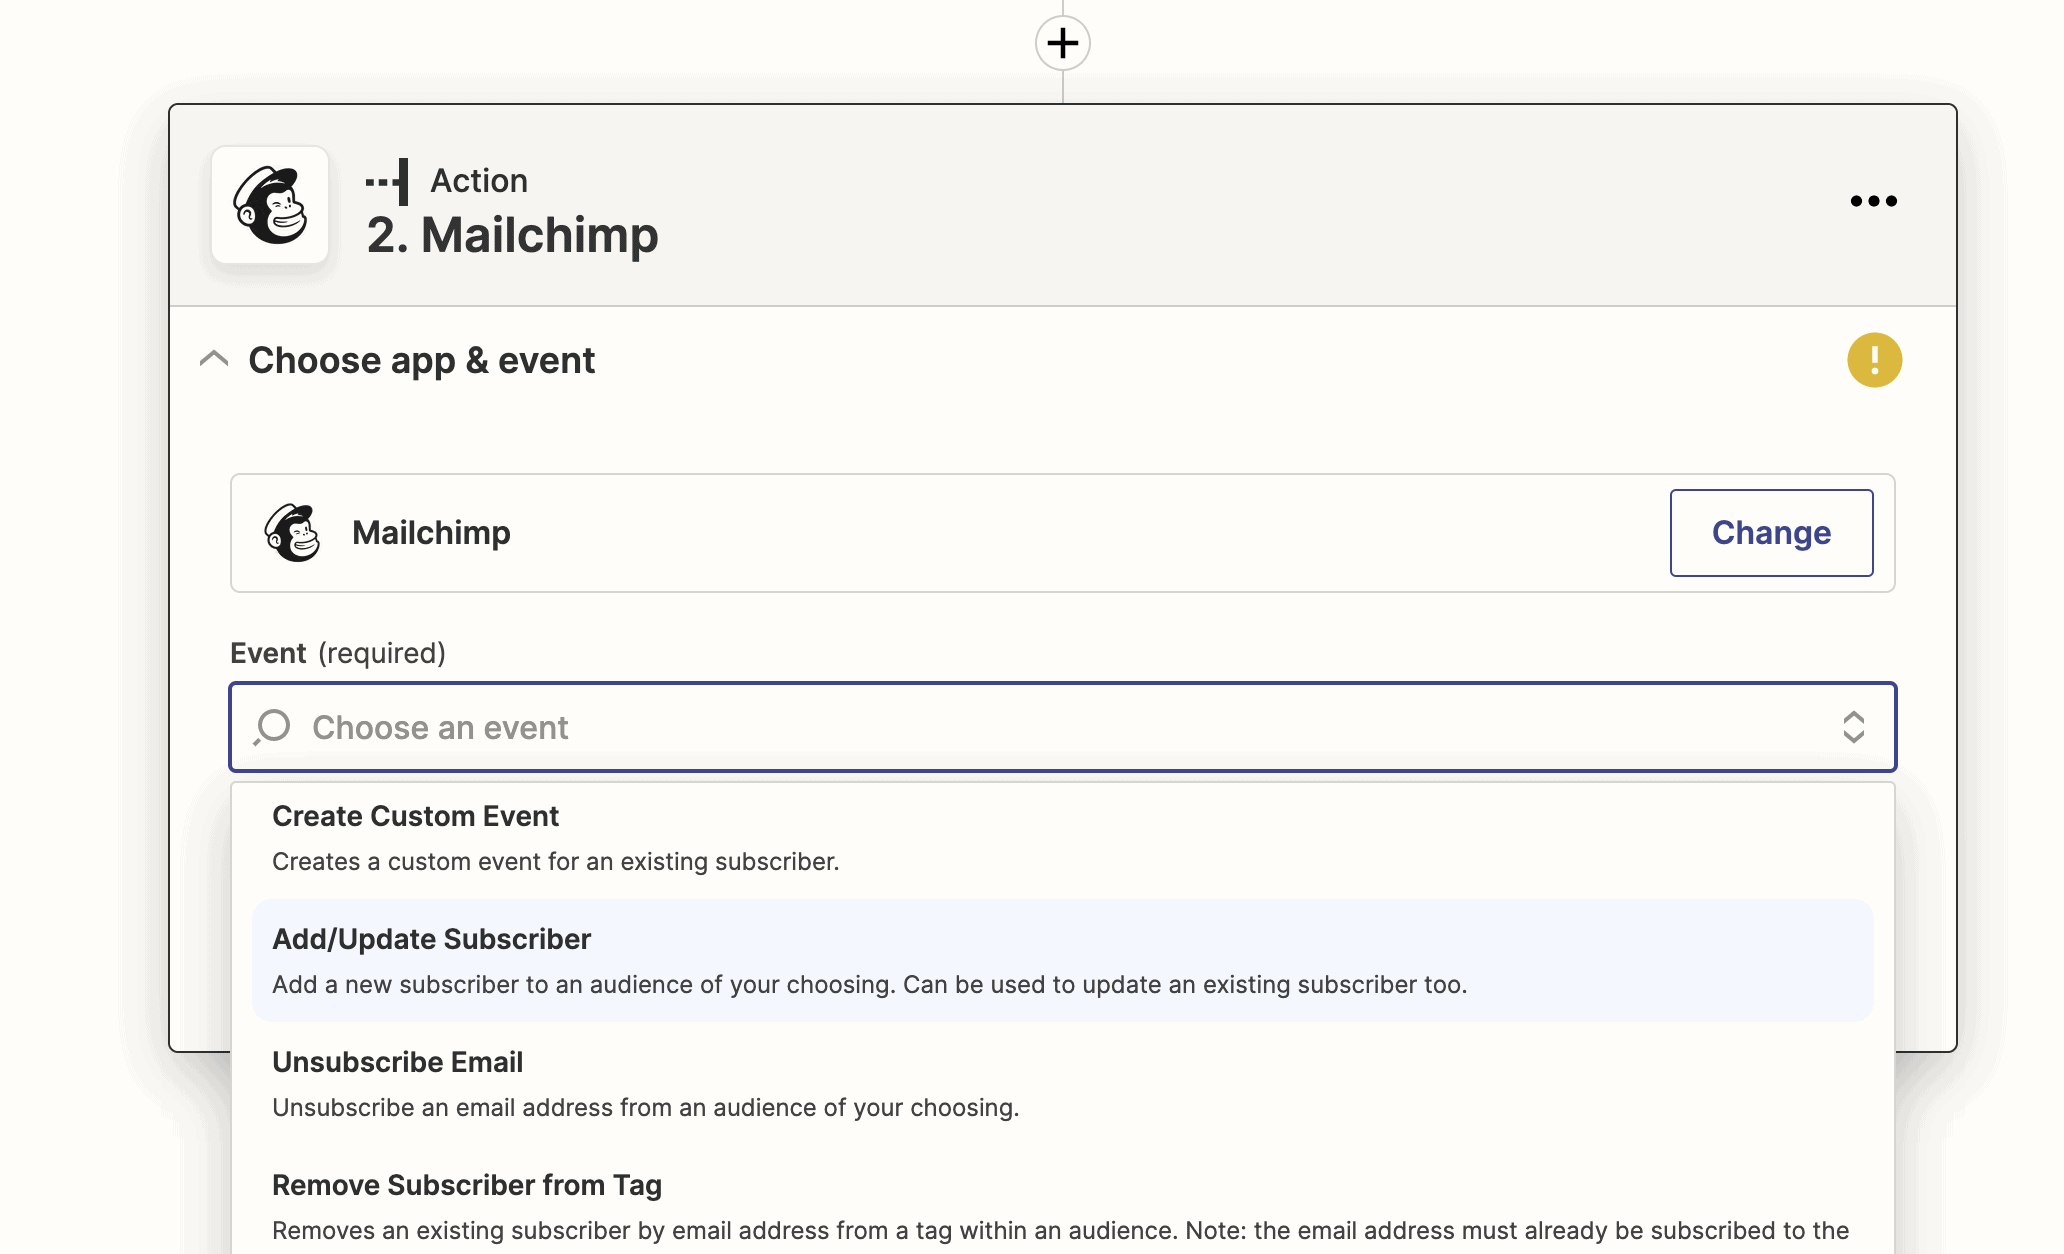
- For your action step, here you will choose your application you want to send the data to (in this case we’ll choose Mailchimp)
- For the event of this action, choose Add/Update Subscriber (You may choose whatever event you want to sync data with, it’s entirely up to you).
- After this step you will need to authorize connection with your Mailchimp account. Follow the prompts and allow access to your account. Continue to the setup action.
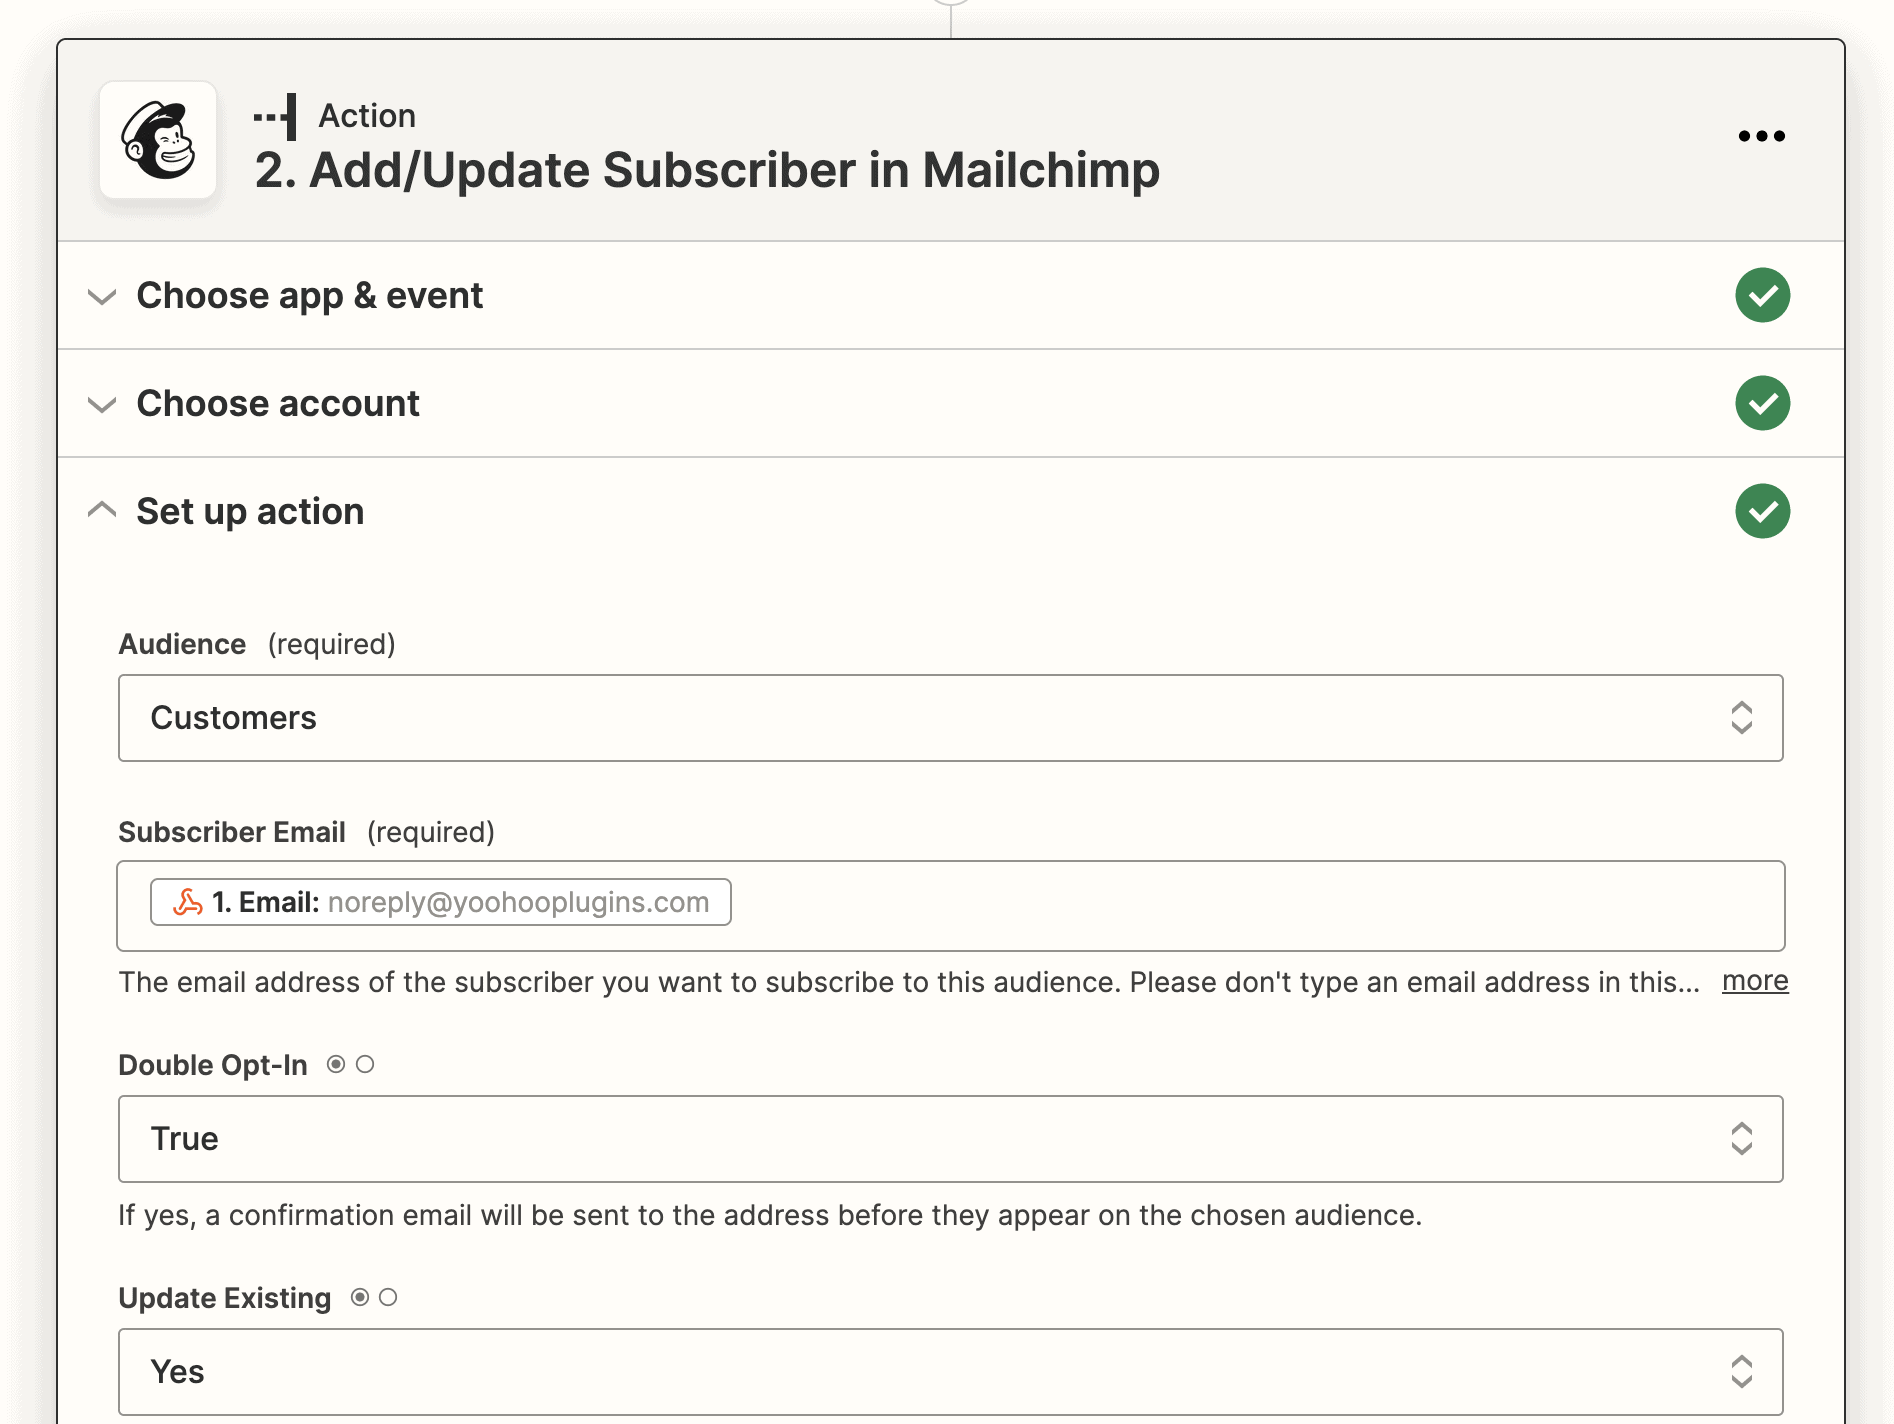
- The setup action is used to map the data to where it should go – this is filling out a form with data from the trigger step as well as specific settings that are available to Mailchimp. We won’t cover all the options here as this is totally up to you and your automation needs:
- Audience: Choose the Mailchimp audience/list the email should be subscribed.
- Subscriber Email: This will be the customer’s email, there should be the sample data from the Webhook test trigger. Choose this option
- Double Opt-in: Should Mailchimp require a double opt-in for this automation.
- Update Existing: Should Mailchimp update the email address with data if it already exists in the audience/list.
- You may proceed and select Test and Continue.
- Name and save your Zap. That’s it, you’re now automating your Easy Digital Downloads store.
If you have any questions with this guide, our support team would be more than happy to answer any questions.
